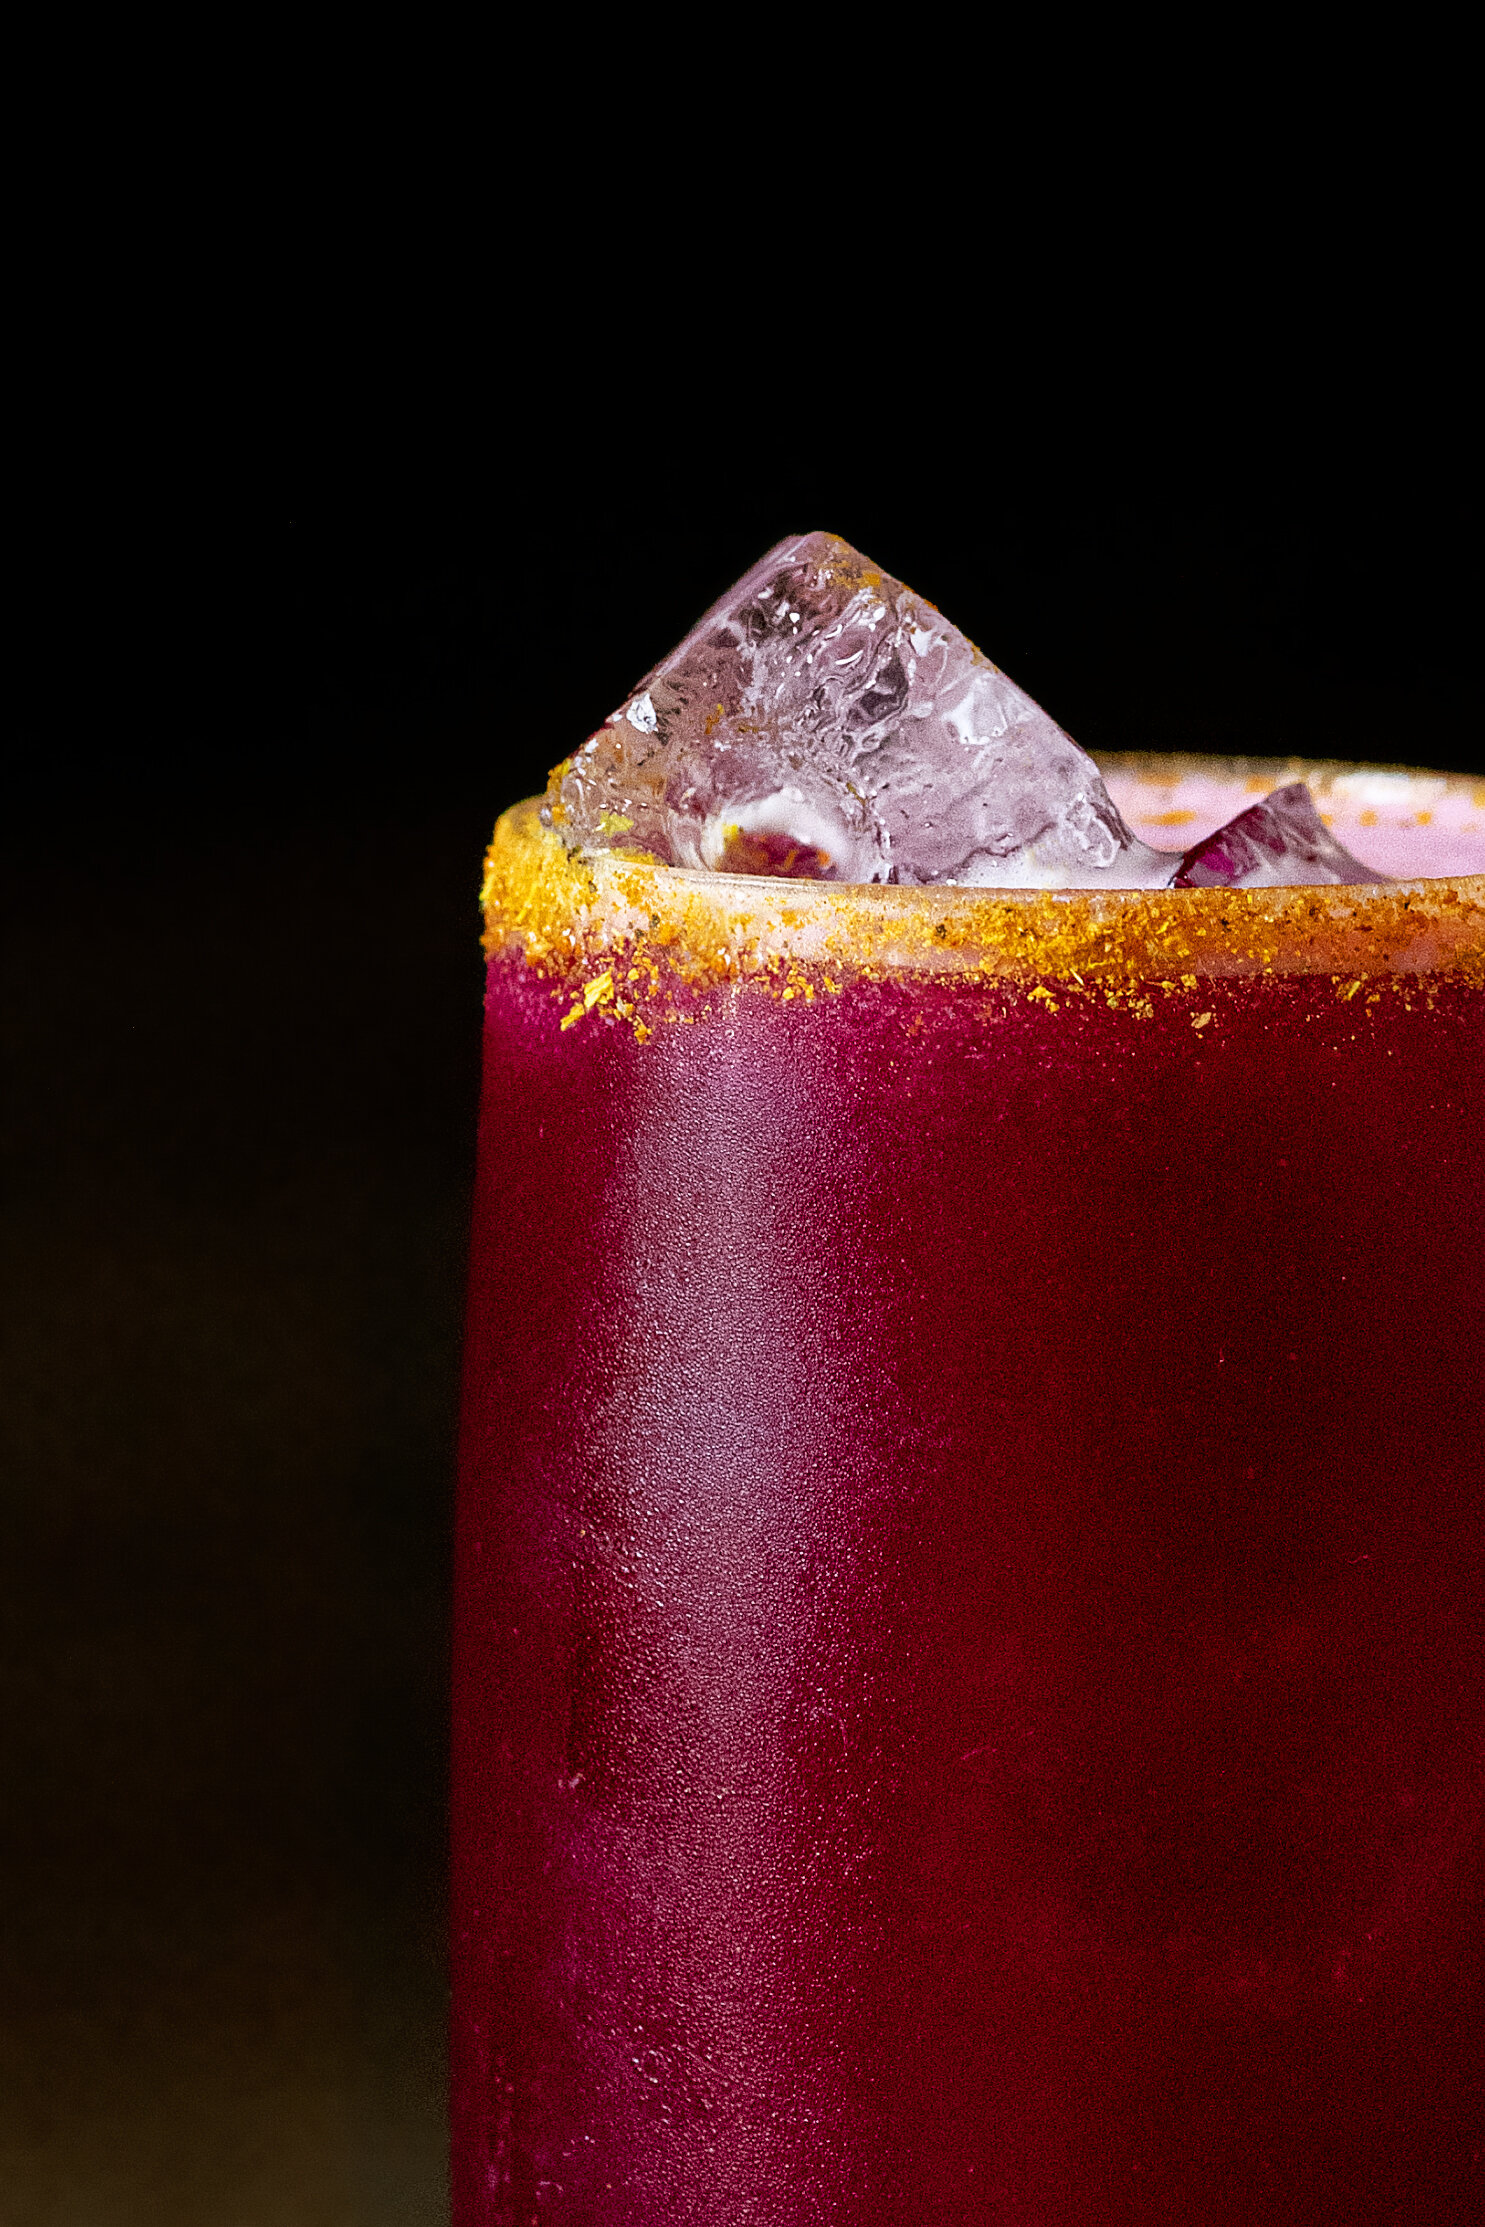
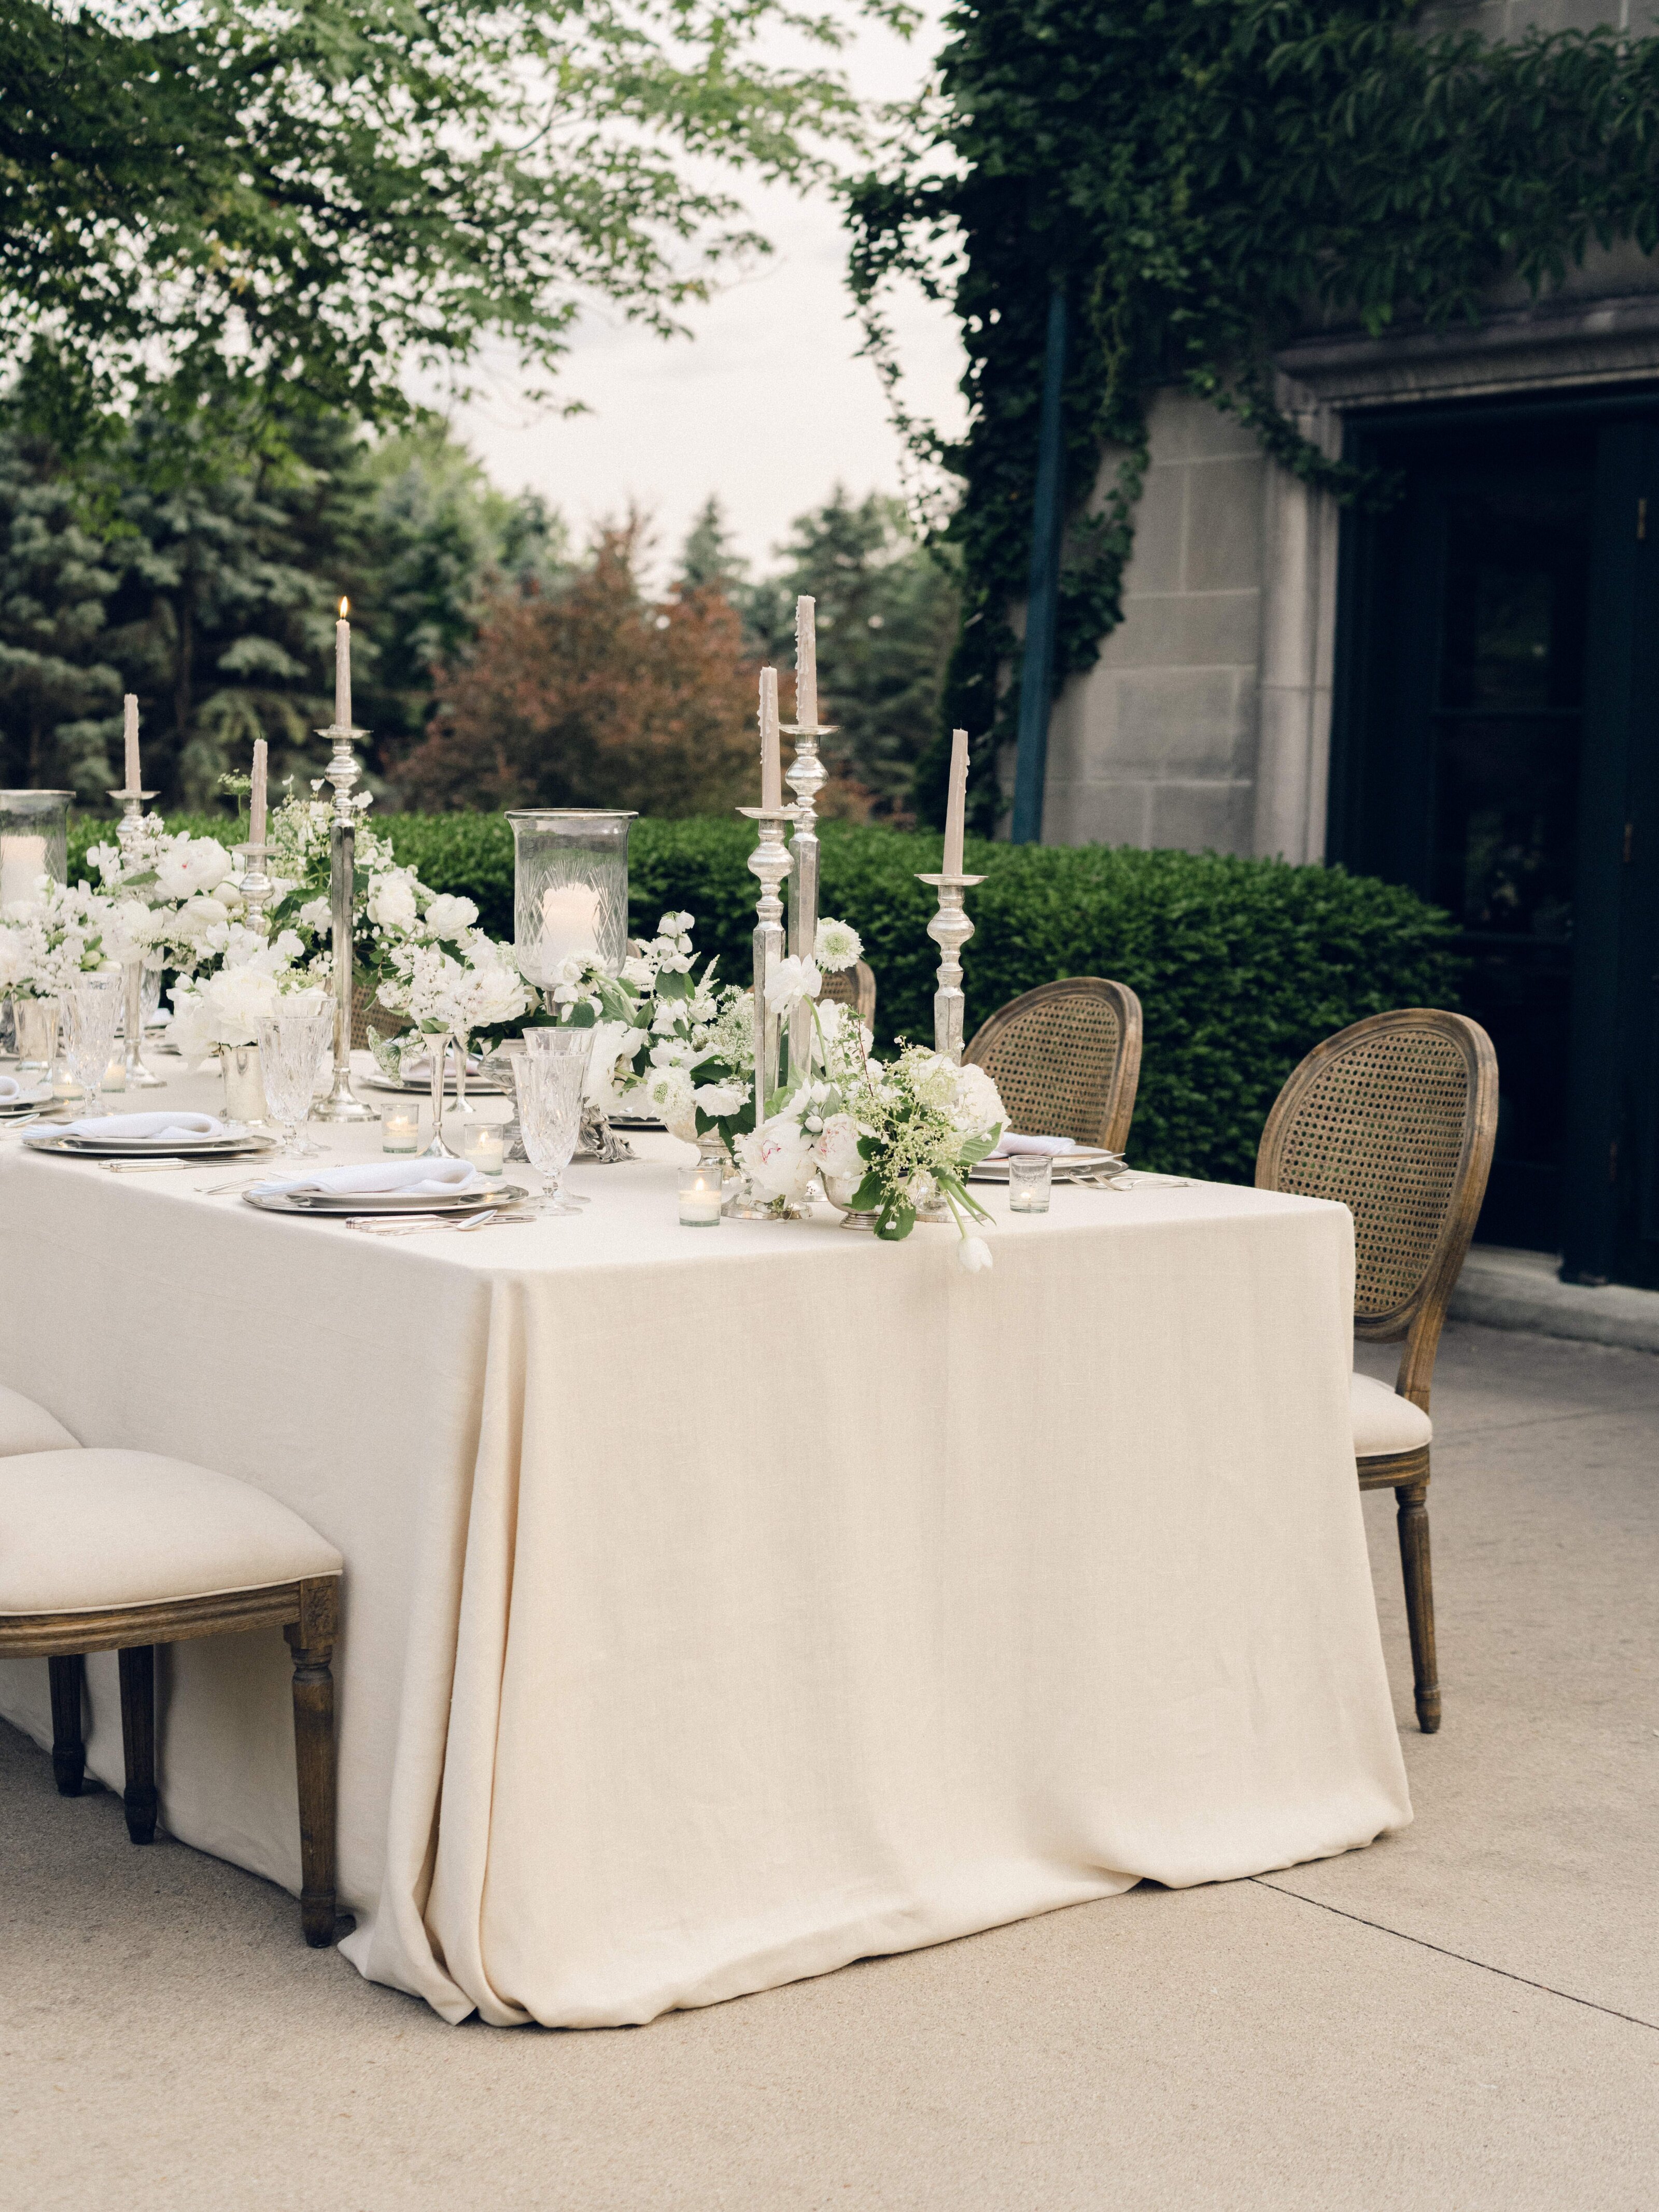
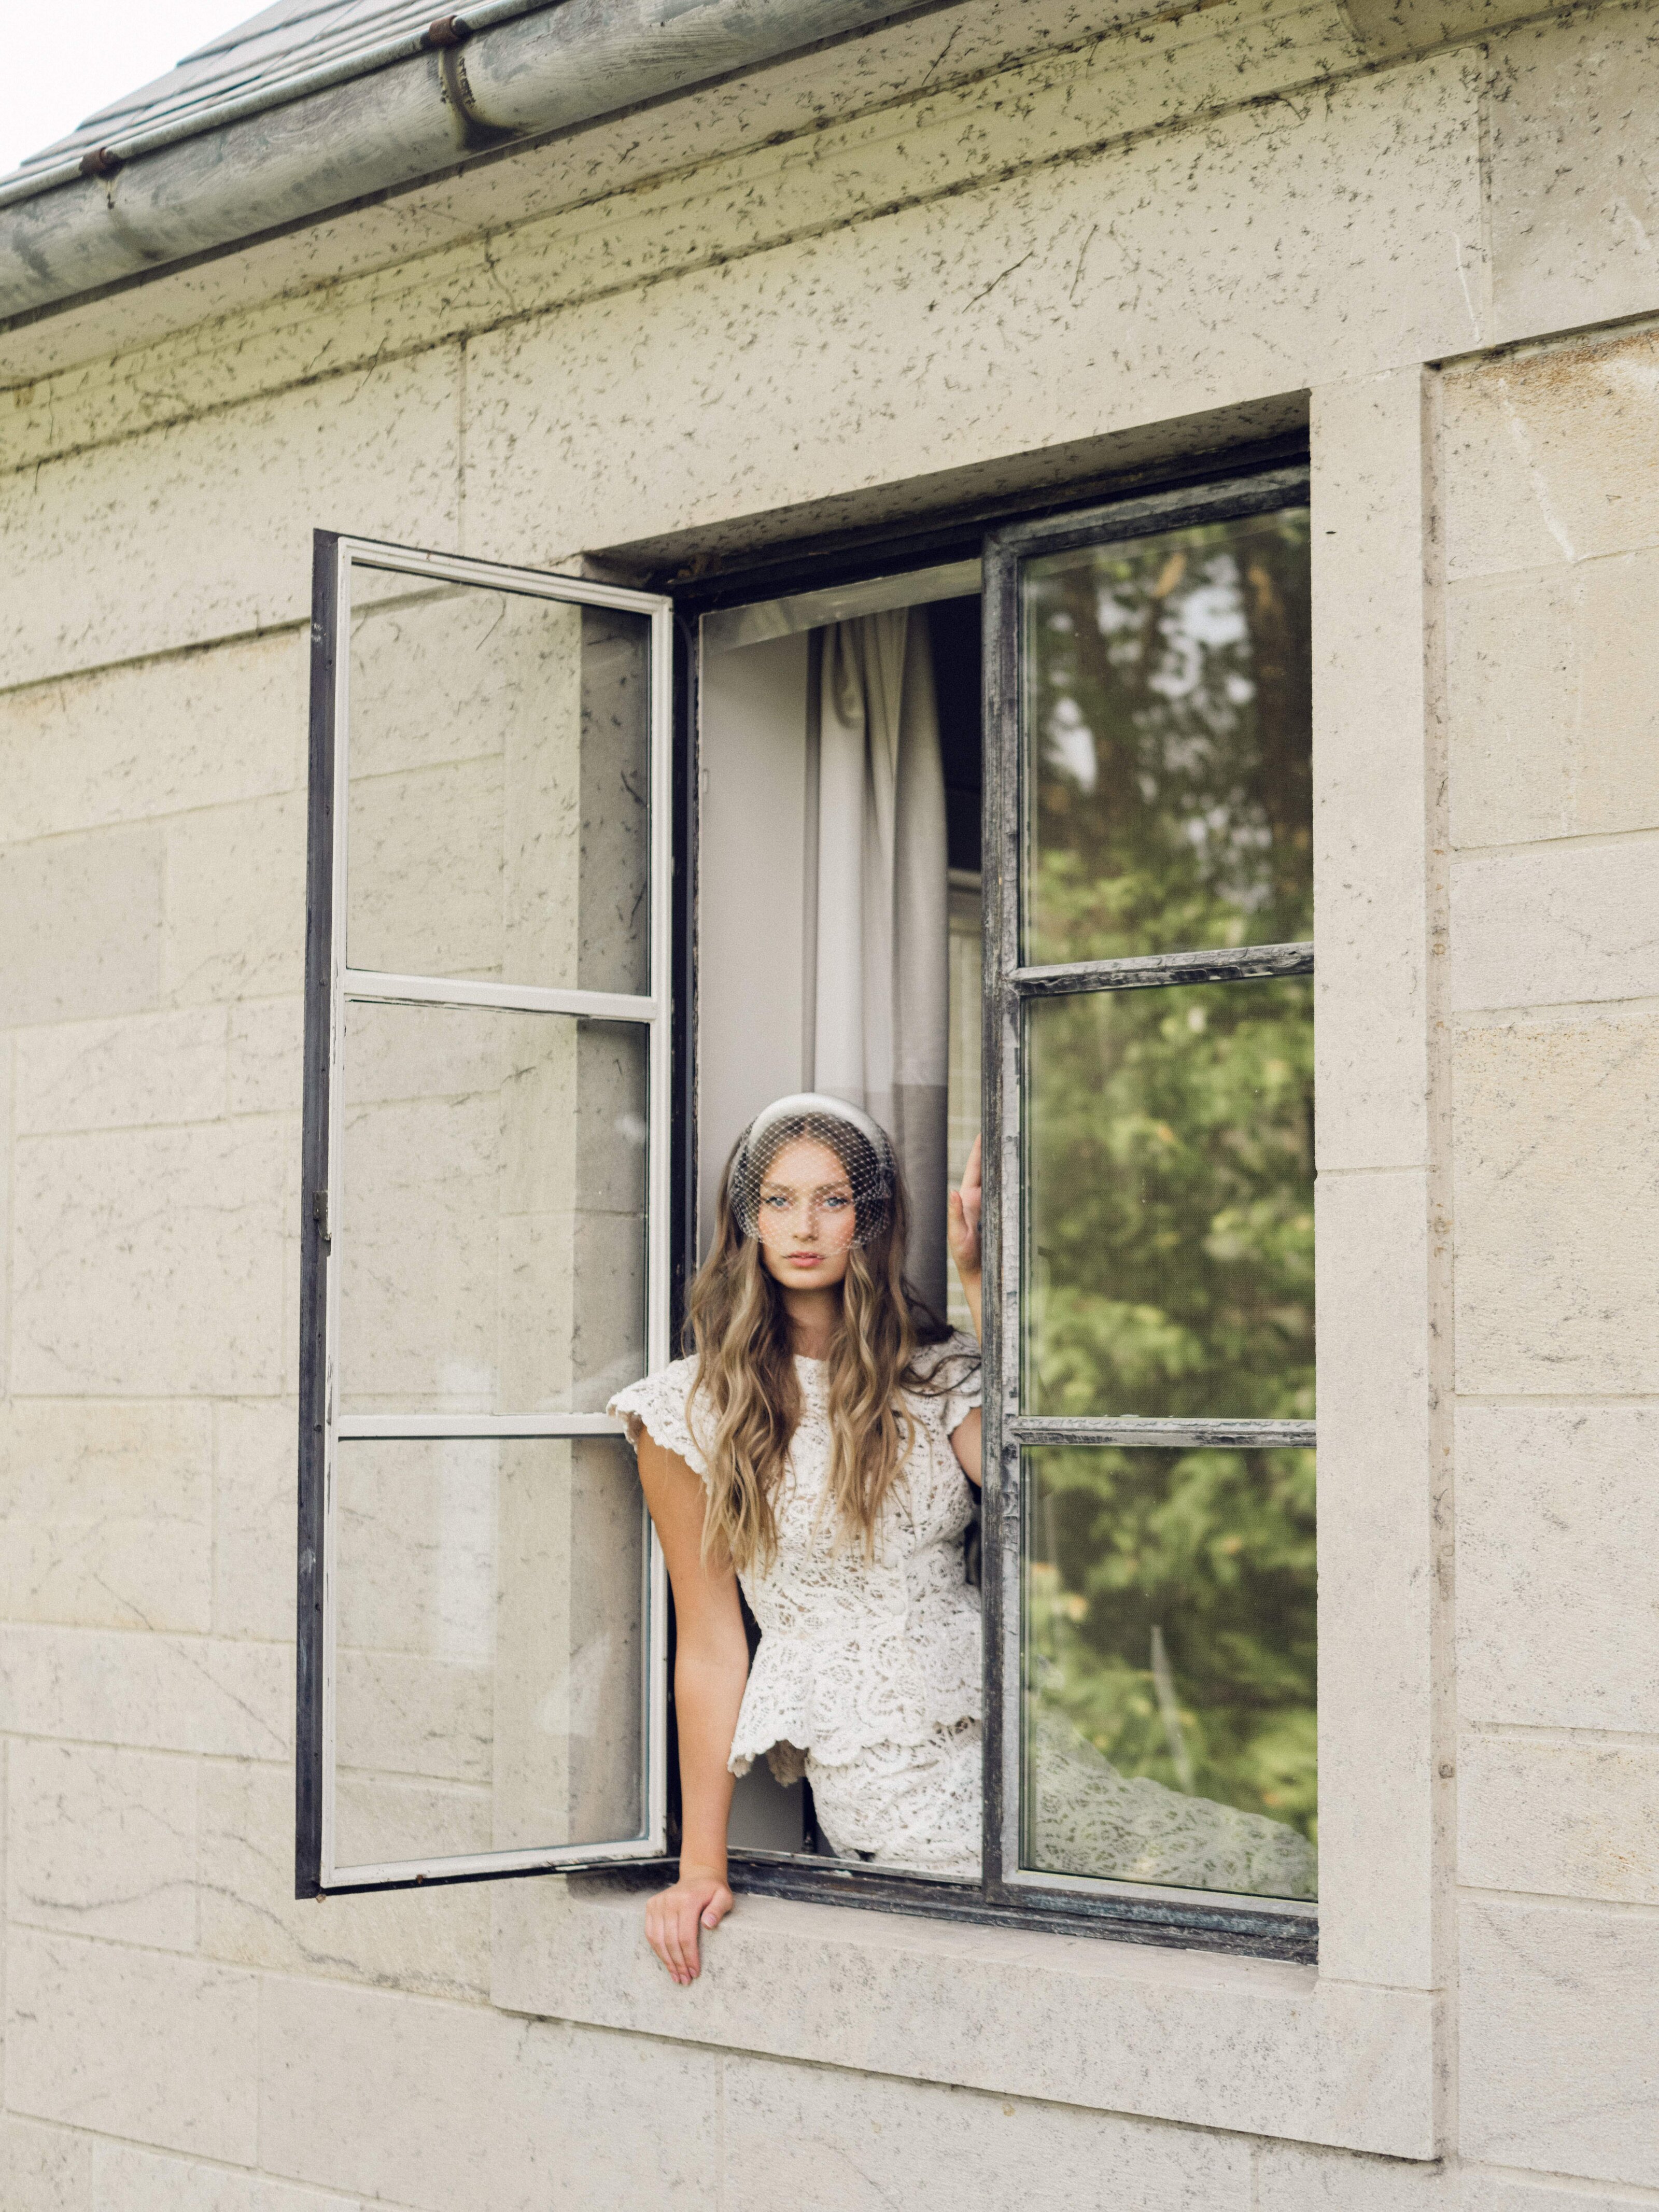
Food photography is all about making food look as delicious and enticing as possible. One of the top ways to achieve this is your choice of camera angle. Each angle has a unique way of showcasing food, enhancing textures, colors, and composition. Here are the three best camera angles for food photography and why they work so well in bringing out the best in your dishes.
1. The Overhead Shot (Flat Lay)
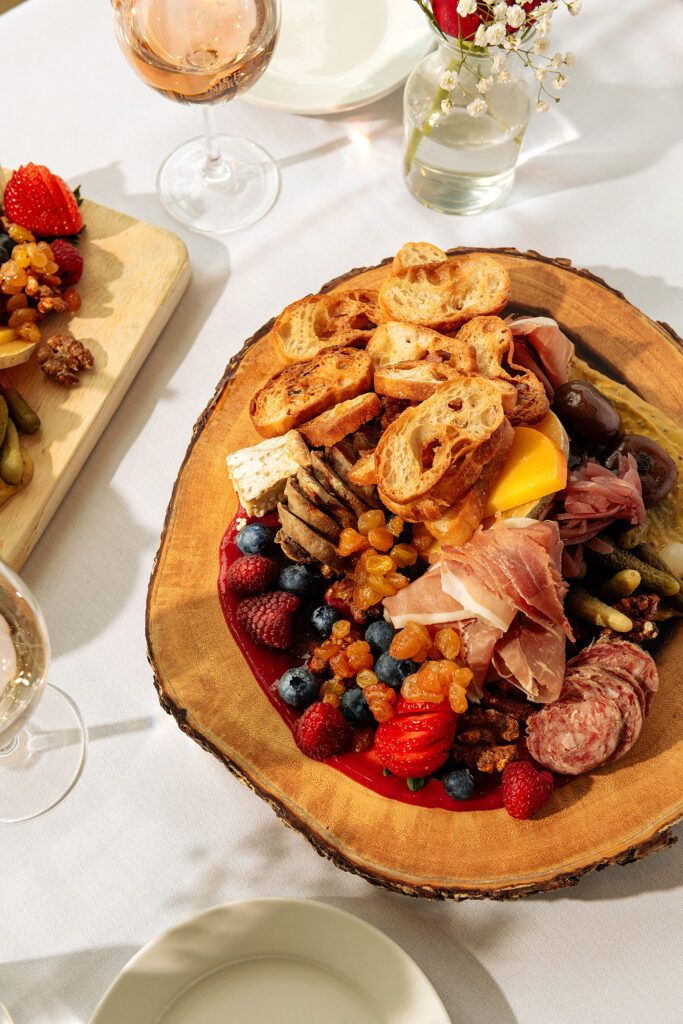
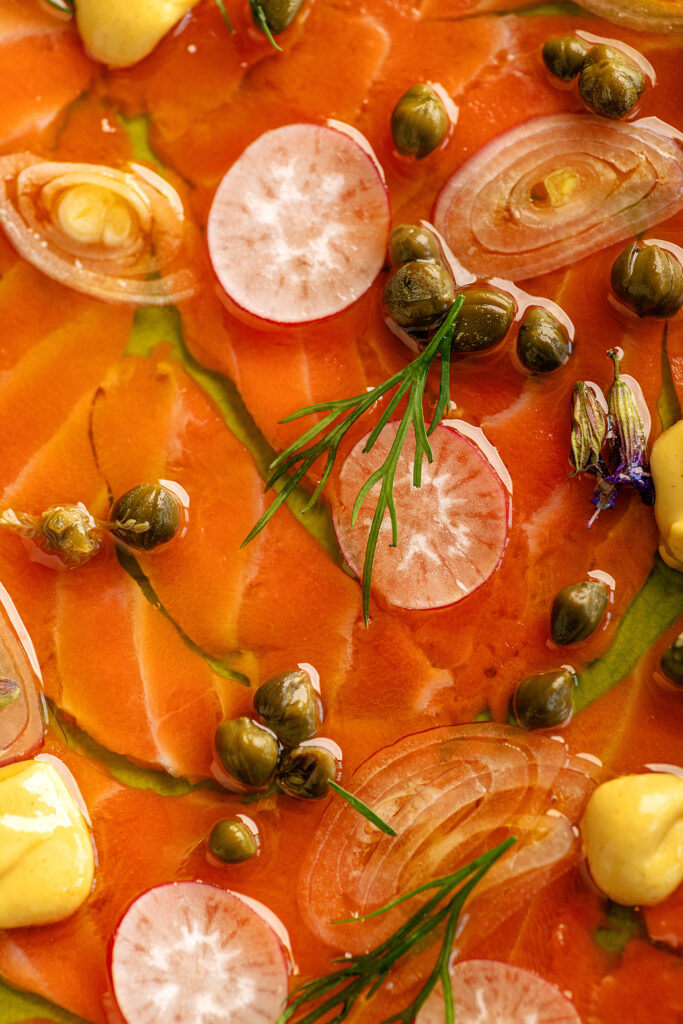
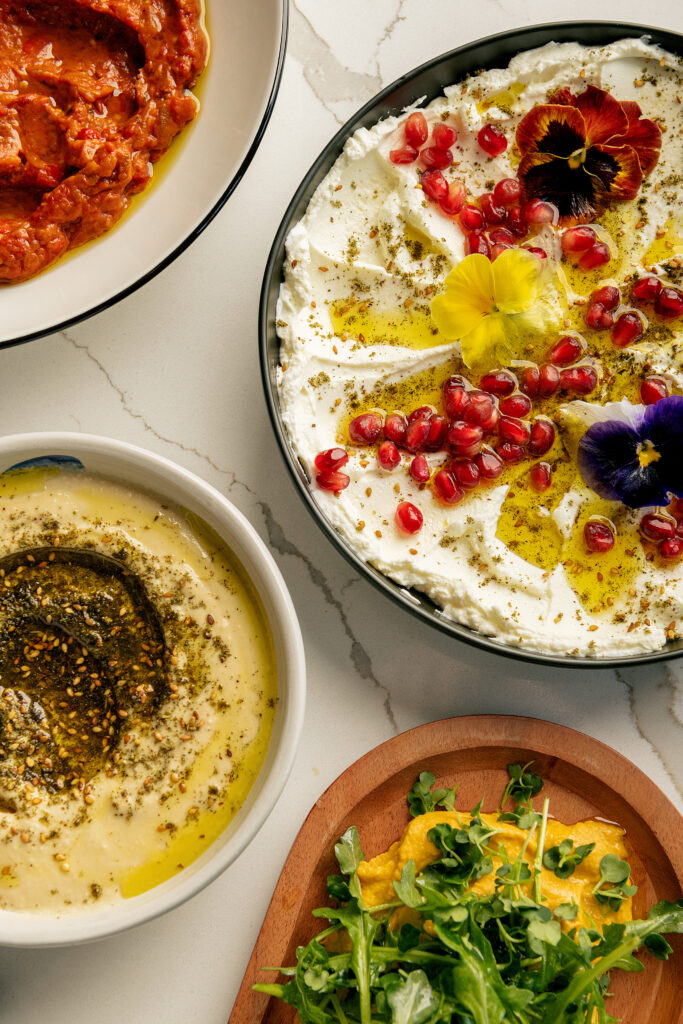
- Why It Works: The overhead shot is perfect for showcasing food from a top-down view, giving the viewer a complete look at the arrangement and colors in the dish. It’s popular in food photography for scenes that involve multiple items, such as platters, spreads, or dishes with strong shapes and patterns, like a pizza or a flat dish.
- Best For: Dishes with many components (like charcuterie boards, pastries, or multi-item setups), flat dishes (like pizzas or dips), and table spreads.
- Tips for Overhead Shots: To make this angle work best, keep styling simple and emphasize shape, color, and balance. Arrange elements in a circular or grid pattern to create symmetry, which enhances the composition and helps guide the viewer’s eye.
2. The 45-Degree Angle
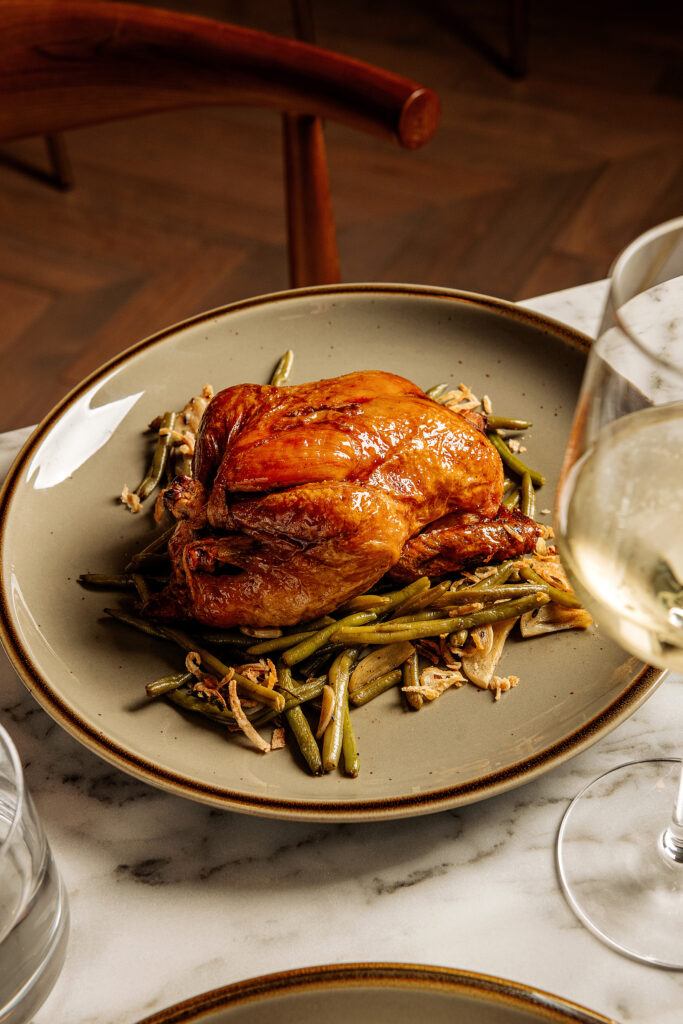
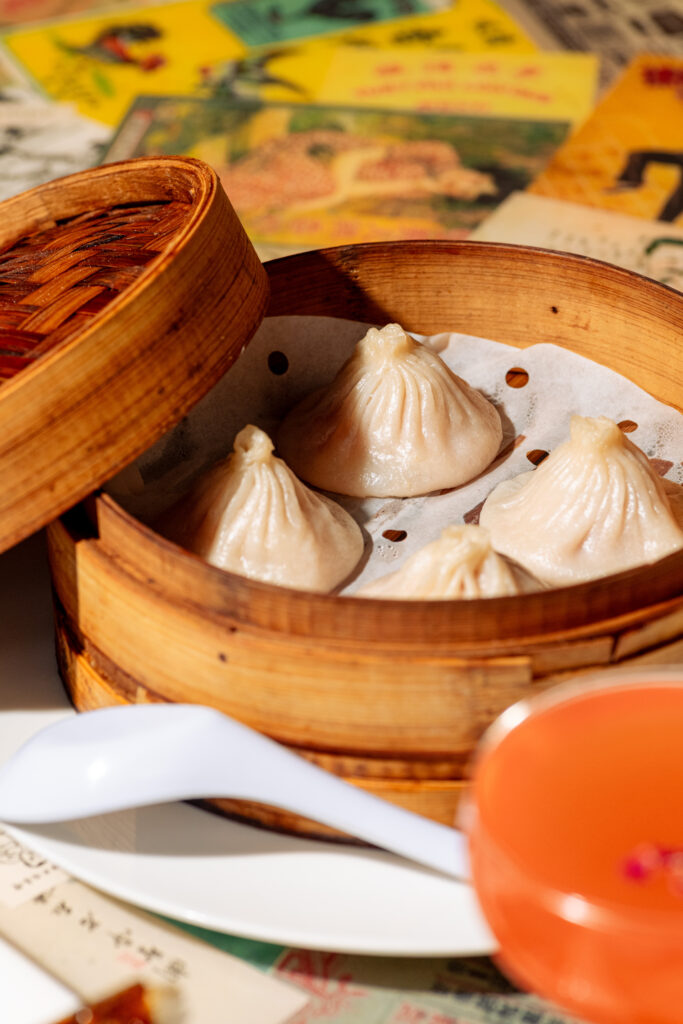
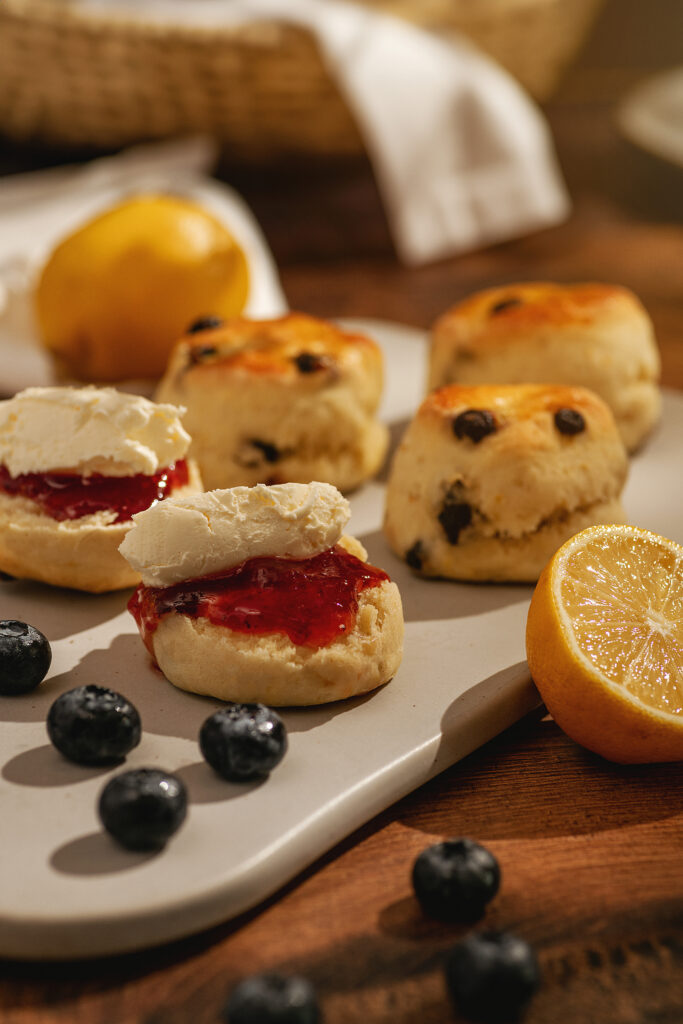
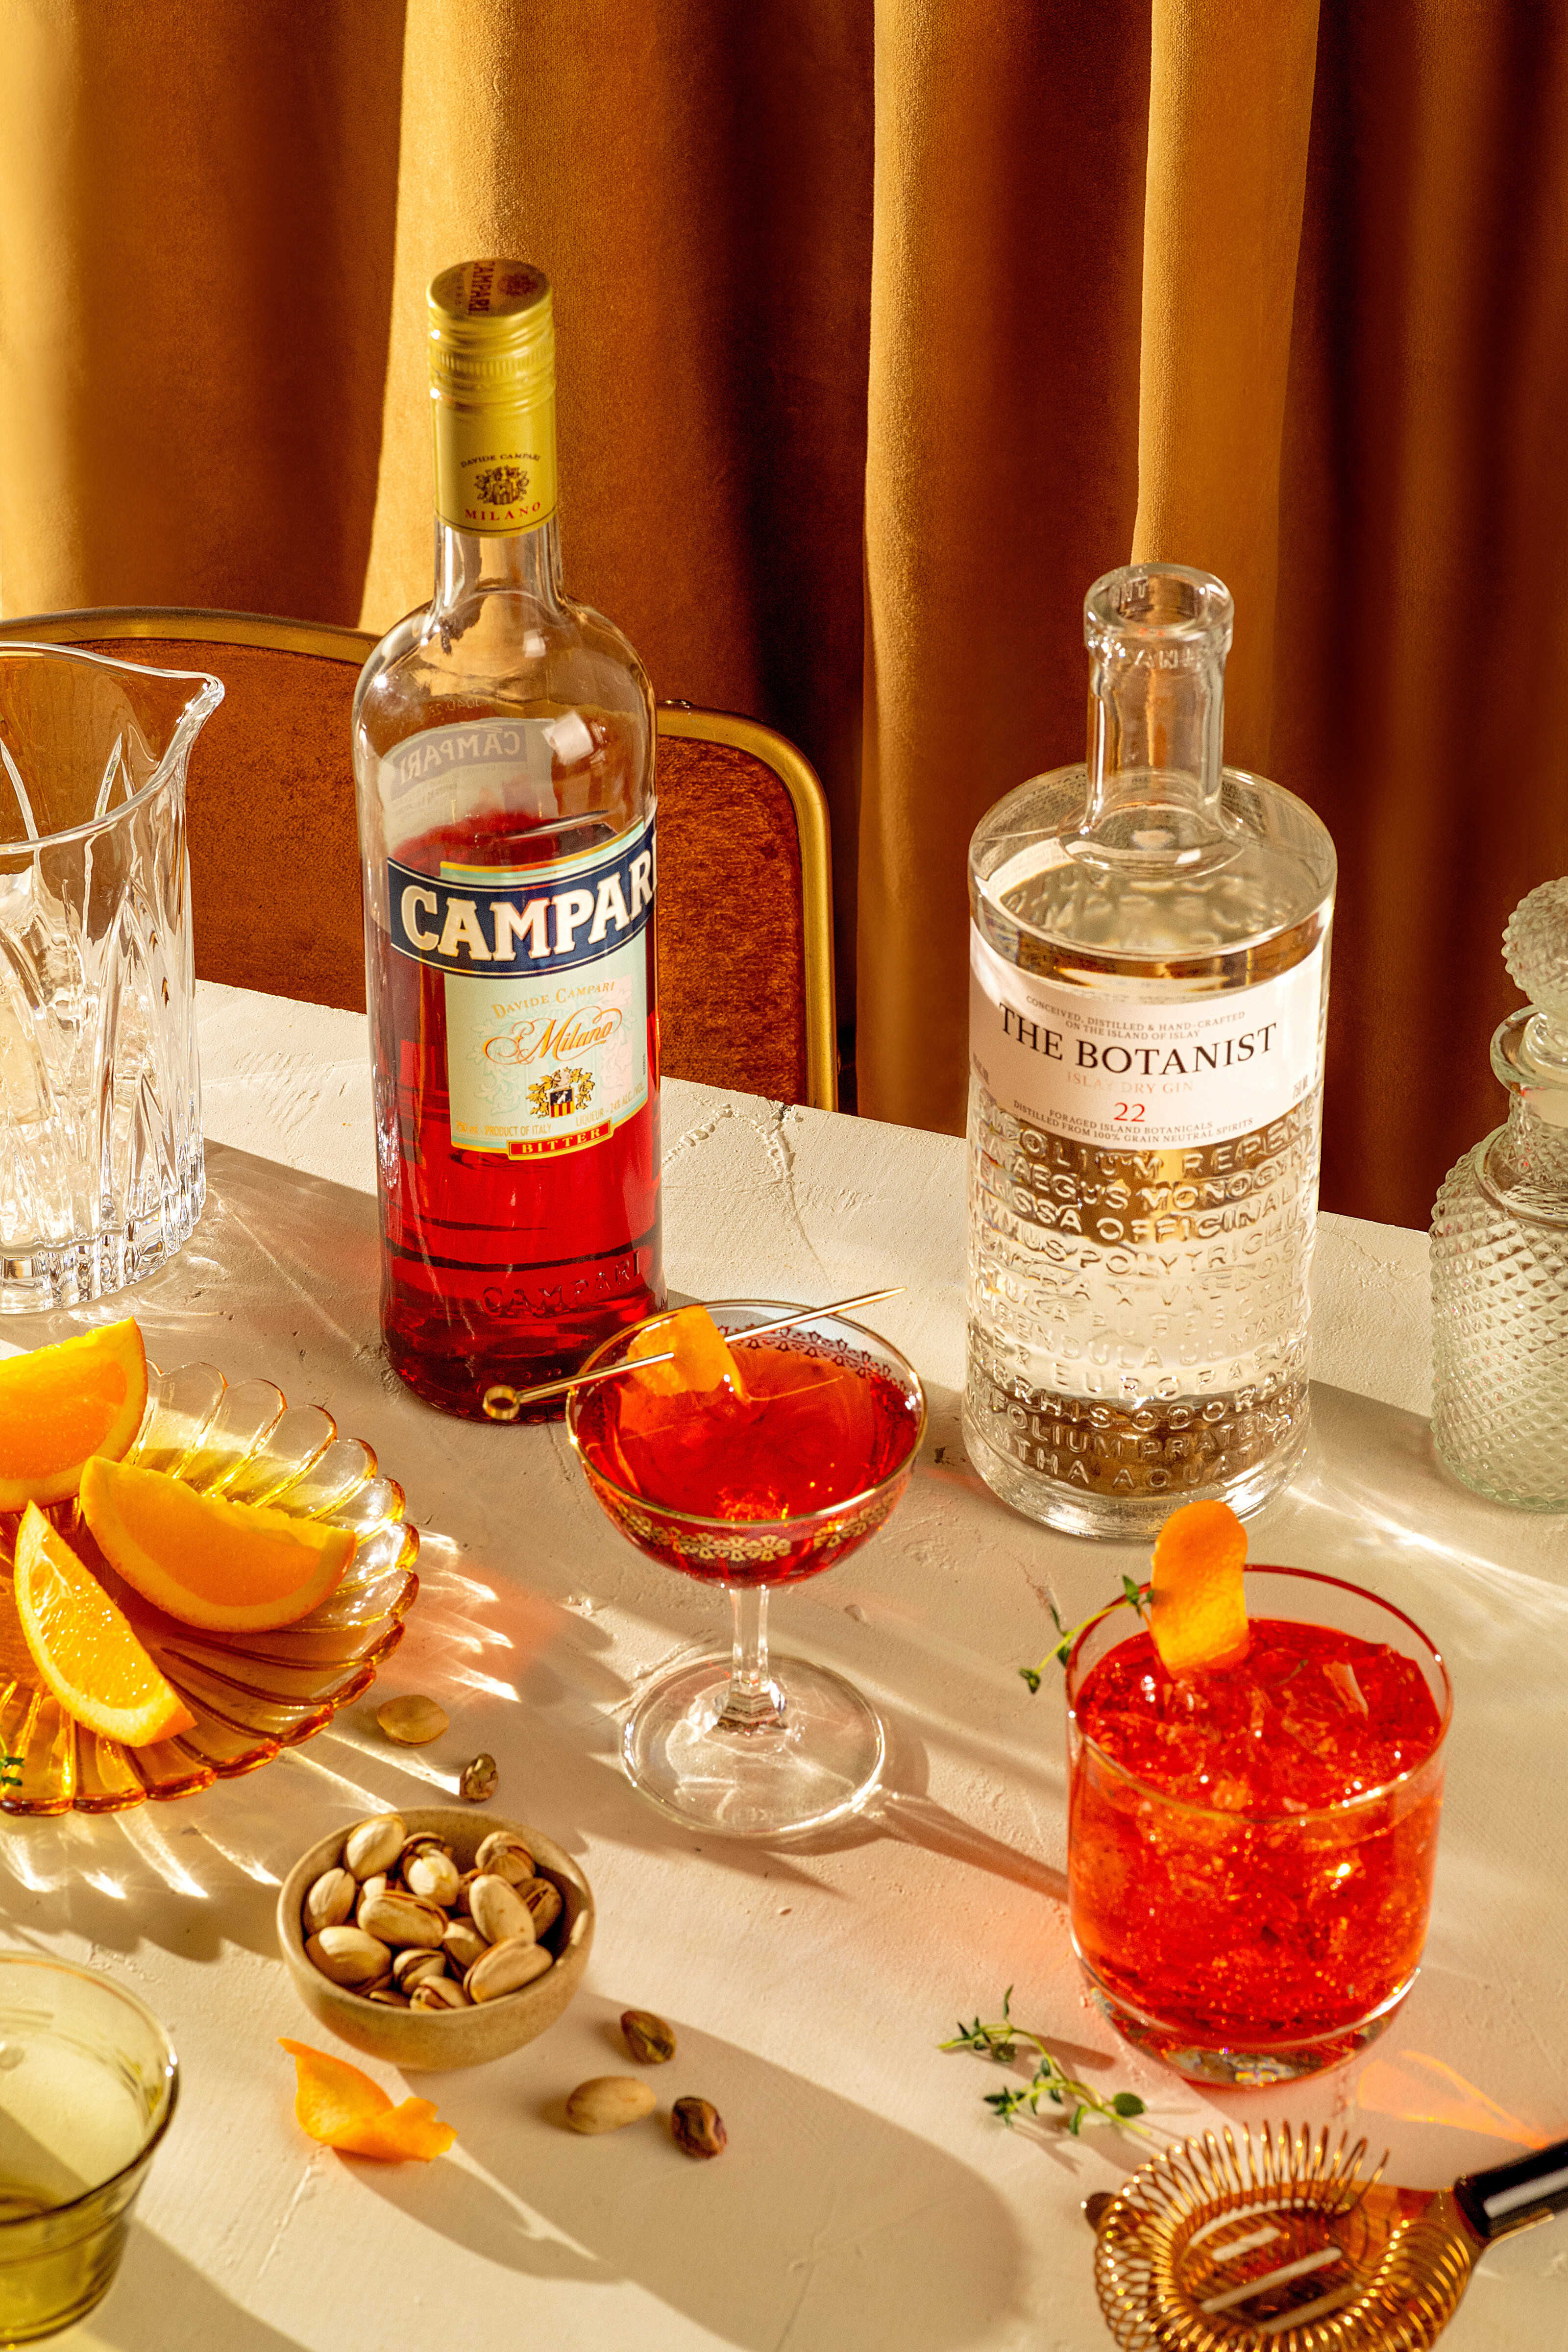
- Why It Works: A 45-degree angle is close to how we naturally view food when seated at a table, making it feel familiar and inviting to viewers. This angle works well for highlighting the depth and layers of the dish, making it perfect for foods with interesting textures or ingredients stacked on top of each other, like burgers, bowls, and sandwiches.
- Best For: Foods with height and structure (like plated entrees, cocktails, and salads), or when you want to show off textures and toppings.
- Tips for 45-Degree Shots: Lighting is crucial to avoid harsh shadows that can obscure details. A soft, diffused light source works best, and positioning it at a slight angle to your subject will add dimension. This angle also allows for fun styling props in the background to add depth, such as utensils, napkins, or ingredients that complement the main dish.
3. The Close-Up (Eye-Level) Shot

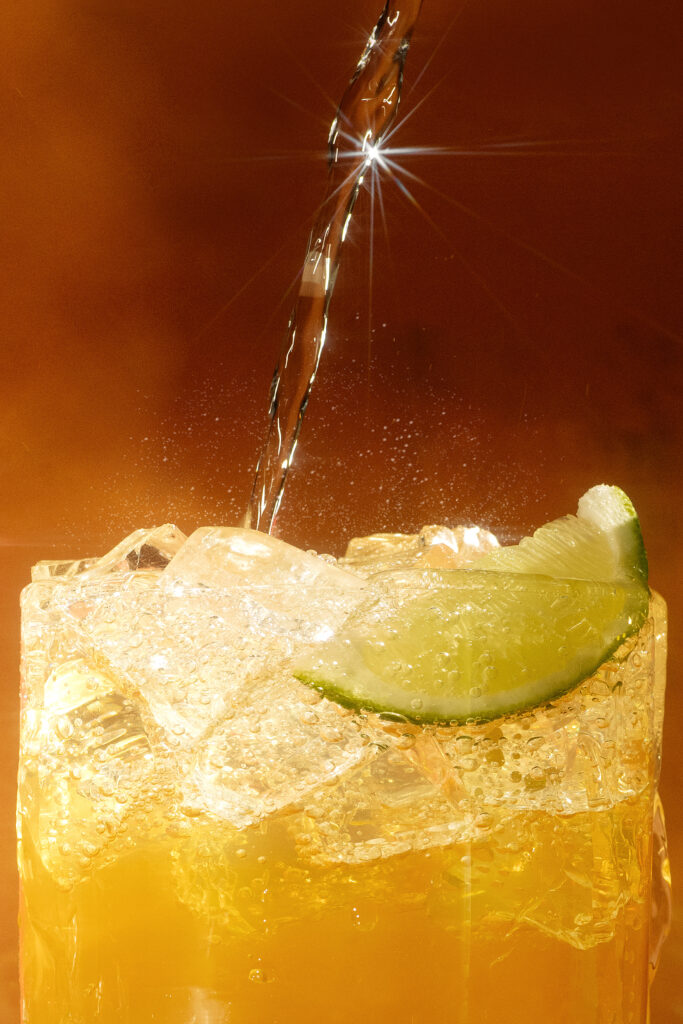
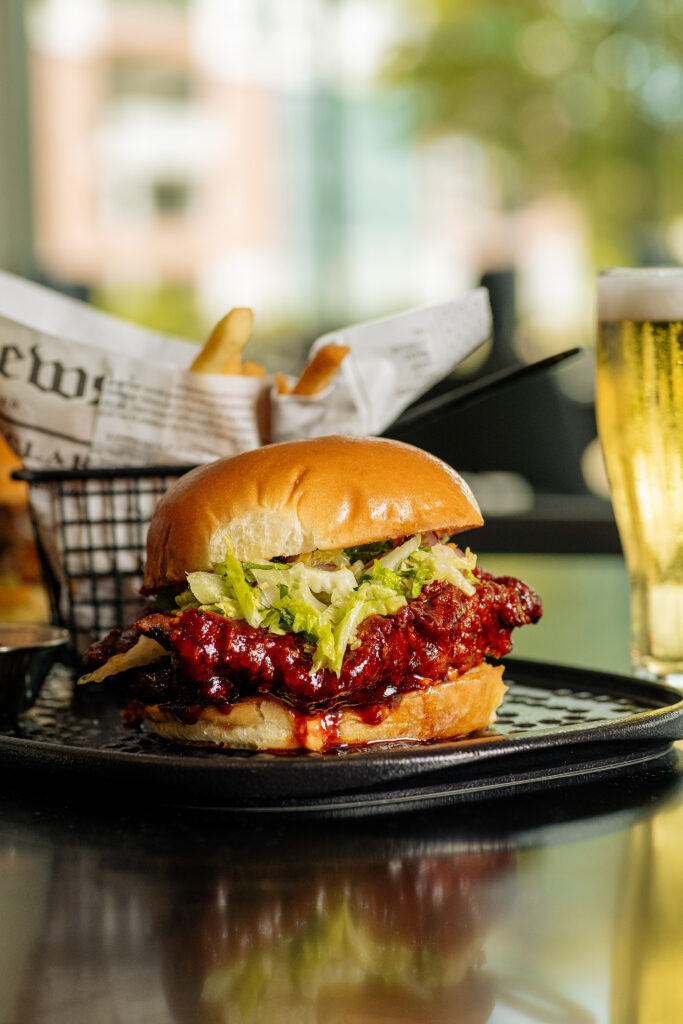
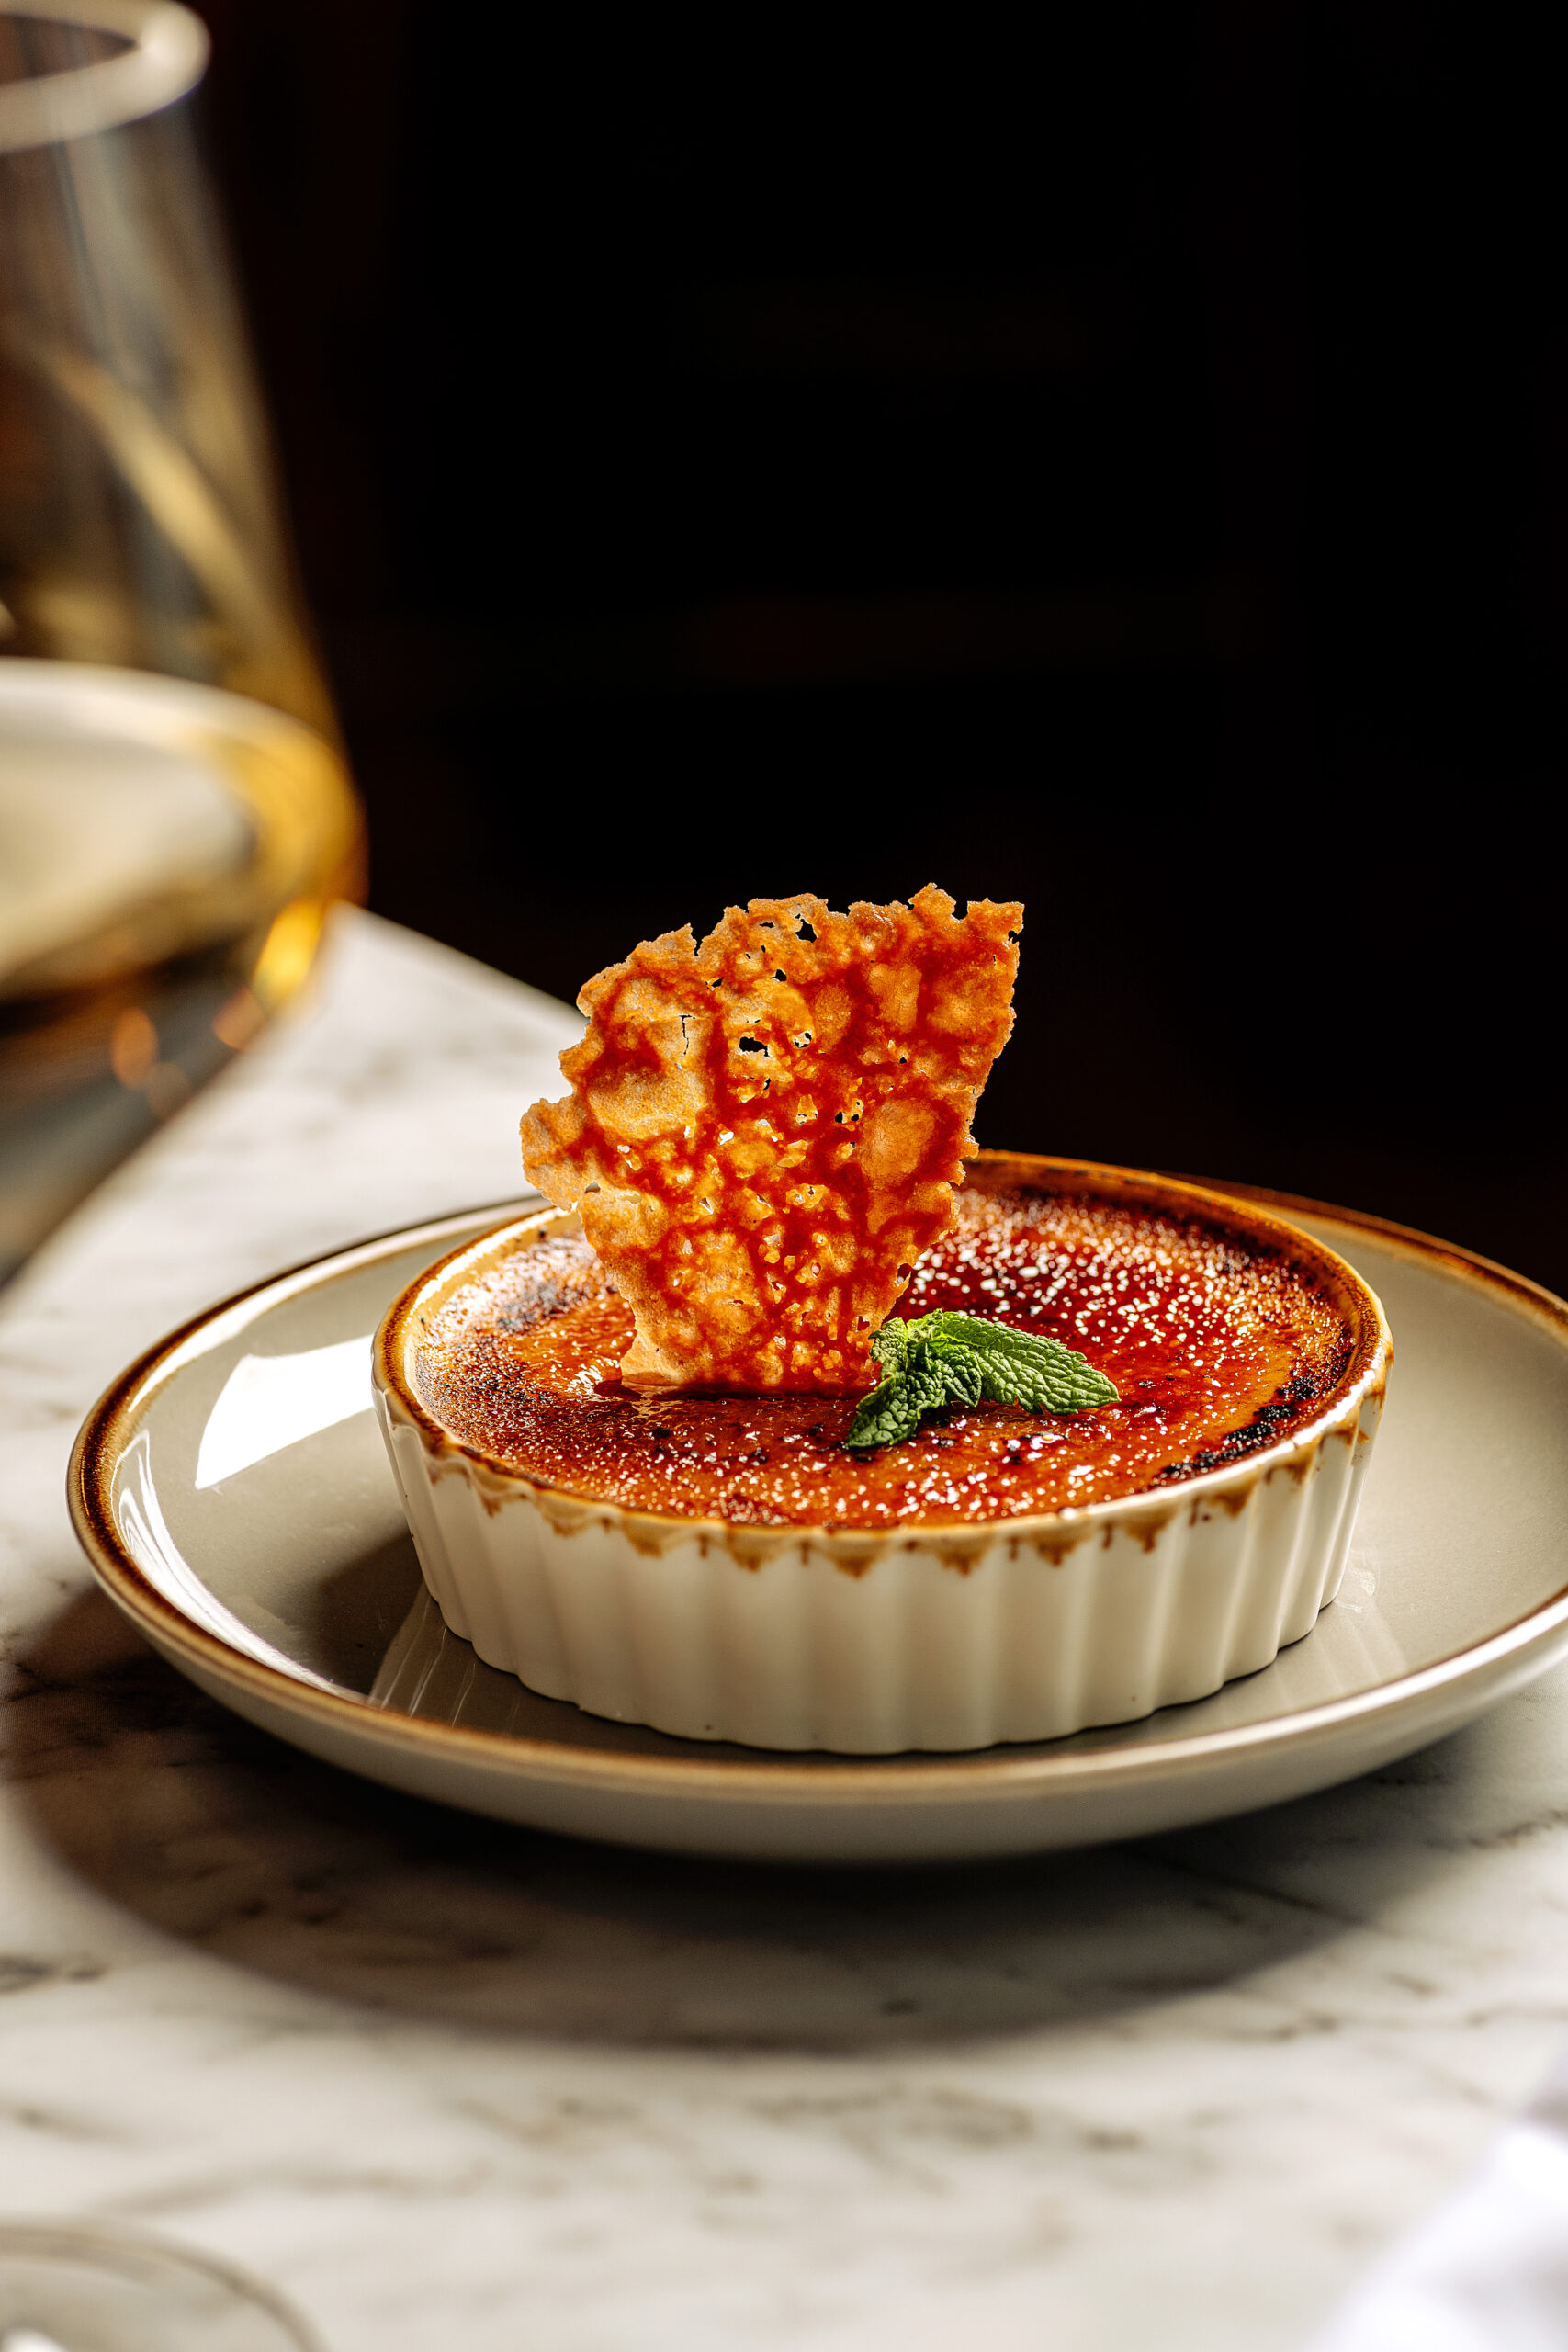
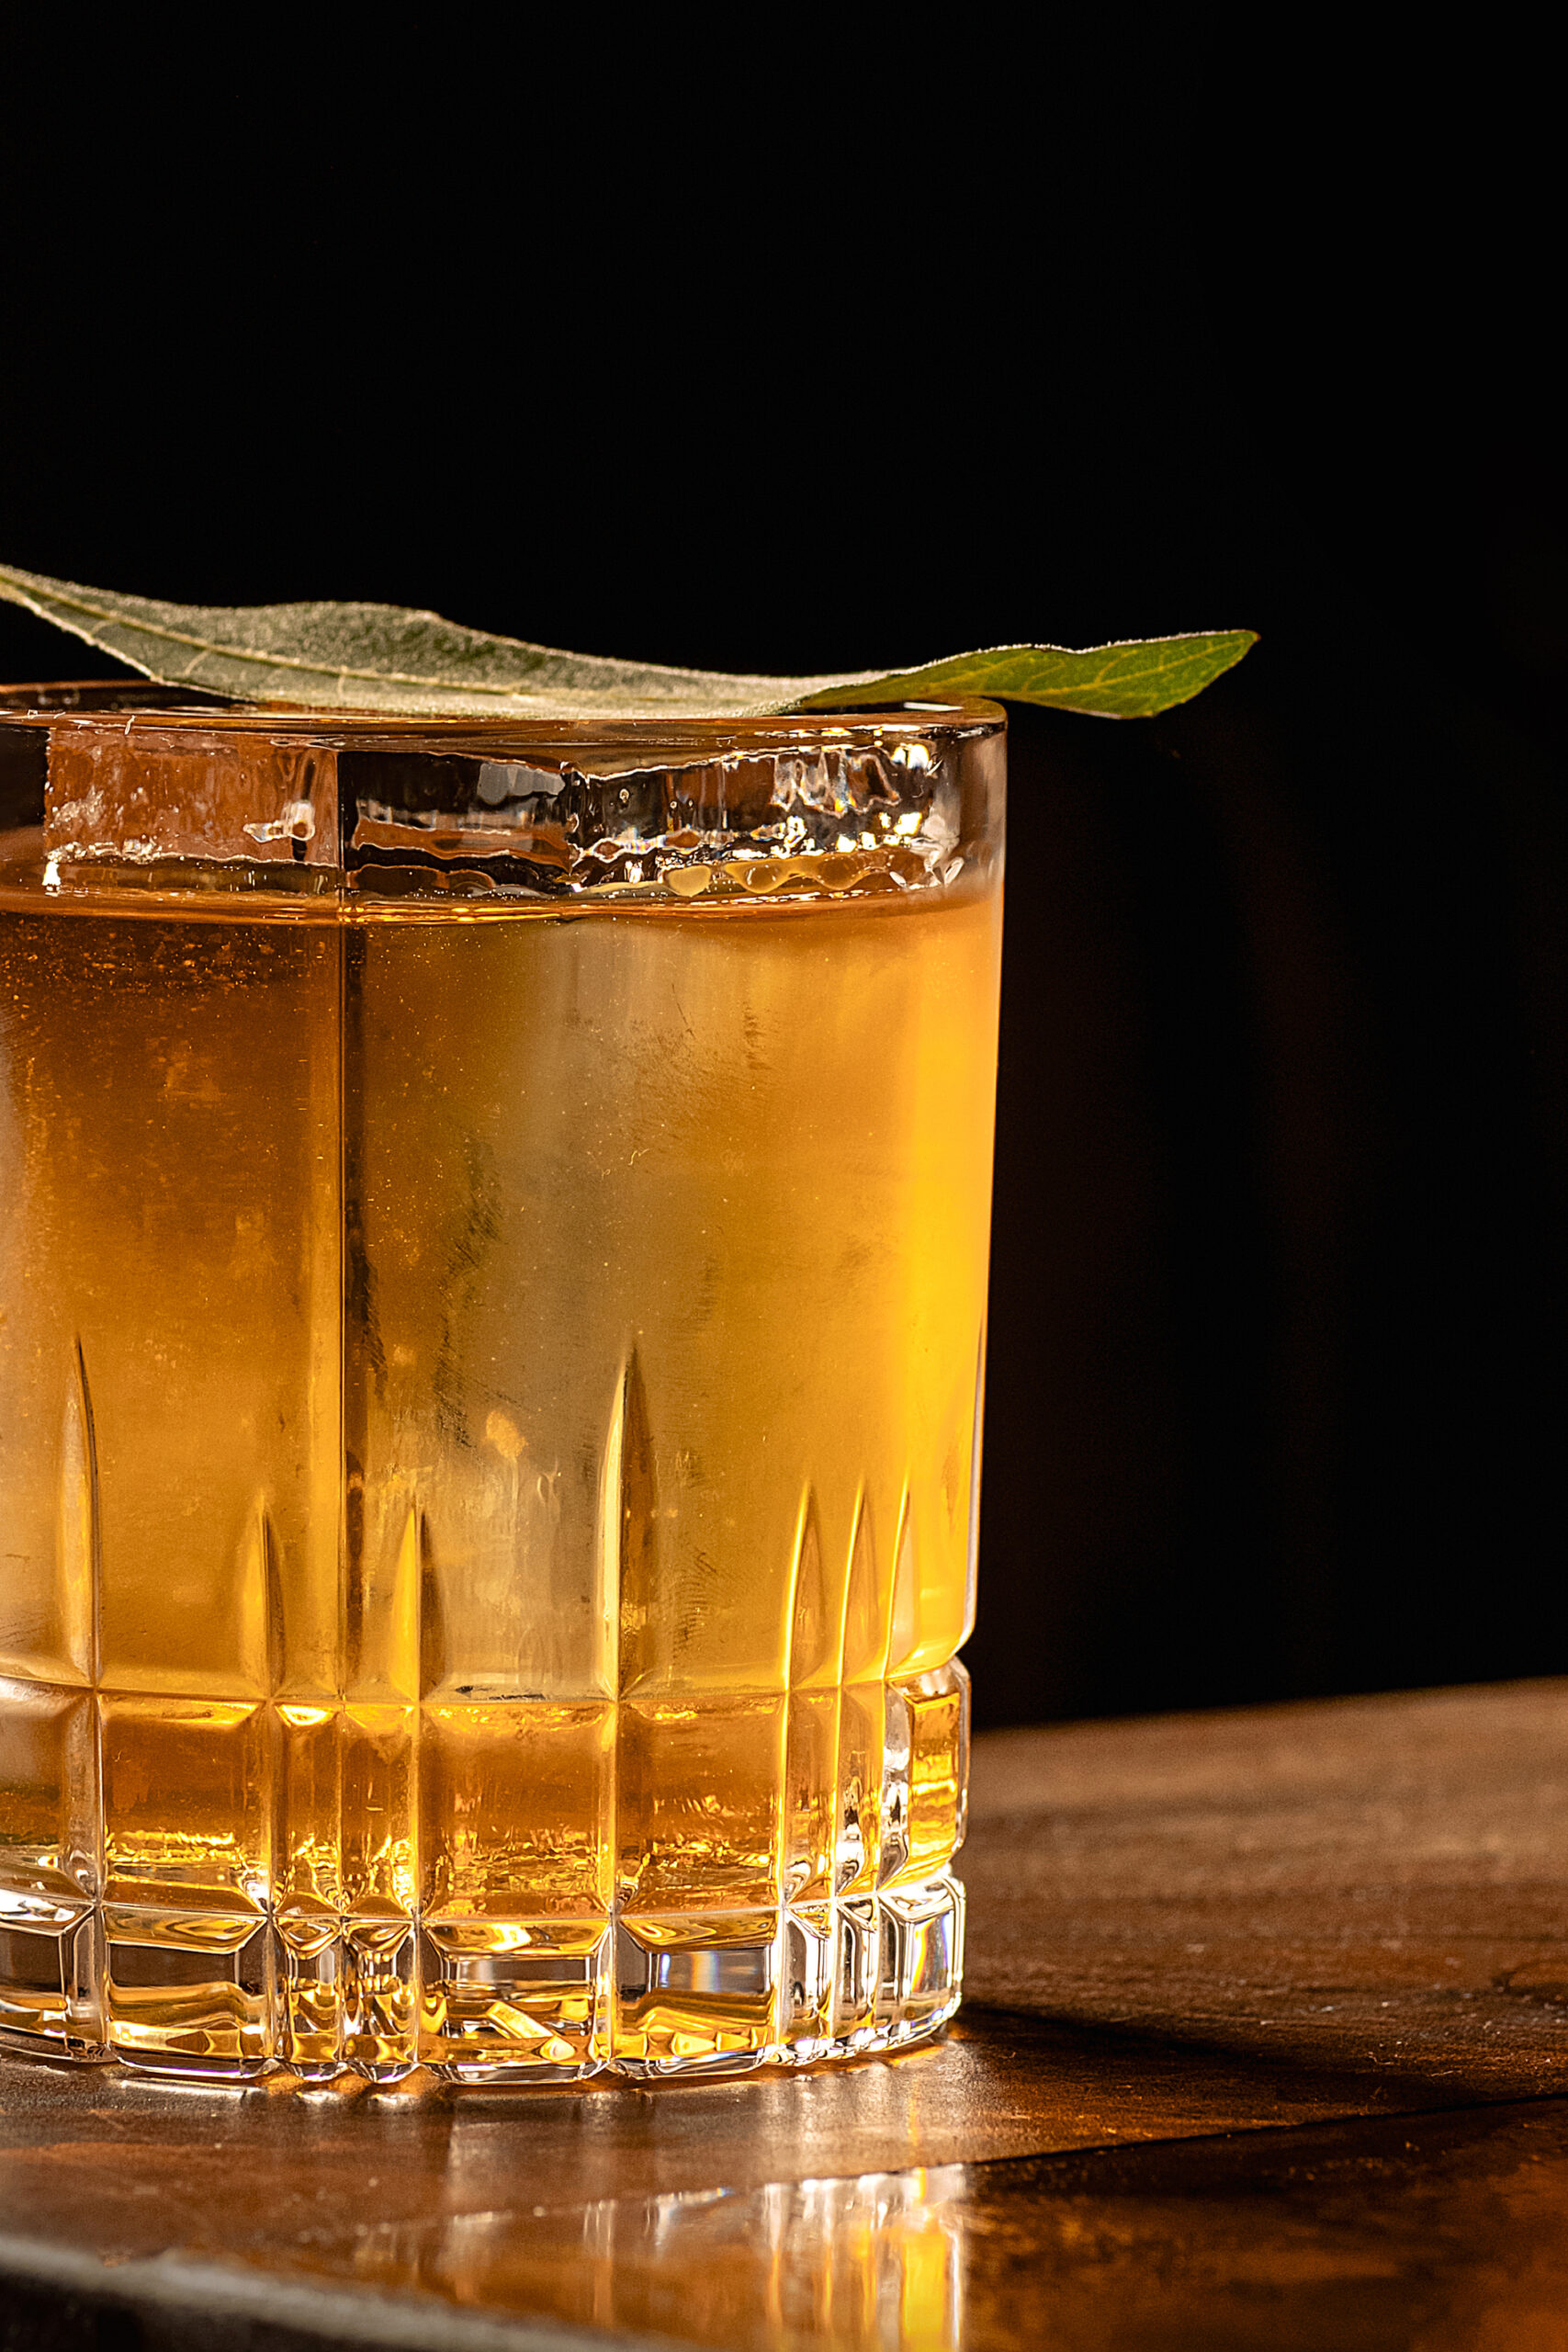
- Why It Works: The eye-level shot brings the viewer right up close to the food, highlighting textures, details, and ingredients in a dramatic, intimate way. It’s great for adding depth and showcasing food that has intricate textures, such as a glistening glaze, a frothy drink, or a juicy slice of meat.
- Best For: Dishes with intricate textures or details (like stacked sandwiches, drinks with frothy tops, and desserts with toppings).
- Tips for Eye-Level Shots: Try using a narrow aperture (low f-stop) to create a shallow depth of field. This will help blur the background and draw attention to specific details of the dish, creating an enticing “up-close” view that makes viewers feel like they’re right there with the food. Adding props around the dish but slightly out of focus can also create a storytelling effect that helps the composition.
While each of these angles has its own strengths, the best angle depends on the type of food and the story you want to tell. Experimenting with different angles can give you a diverse portfolio and help you find the best way to showcase each dish.
+ view the comments
